After you’ve created a new repo from the template, here’s a checklist of things to do to customize for your project.
git cloneyour new repo (if you’ve made it private, read the warning about GitHub Actions minutes, as they can add up on Mac.)- Download CMAKE if you aren’t already using it (Clion and VS2022 both have it bundled, so you can skip this step in those cases).
- Populate JUCE by running
git submodule update --init --recursivein your repository directory. By default, this track JUCE’sdevelopbranch. This is a good default practice to get into until you are at the point of releasing a plugin. It will also pull in the CMake and an example module, my JUCE component inspector. - Replace
Pamplejucewith the name of your project inCMakeLists.txtwhere thePROJECT_NAMEvariable is first set. Make this all one word, no spaces. - Adjust which plugin formats you want built (VST3, AU, etc).
- Set the correct flags for your plugin
juce_add_plugin. Check out the official API and be sure to change things likePLUGIN_CODEandPLUGIN_MANUFACTURER_CODE— everything that saysChange me!. - Build n’ Run! If you want to generate an Xcode project, run
cmake -B Builds -G Xcode. Or just open the project’s folder in CLion or VS2022. Running the standalone is always easiest, but you can also build theAudioPluginHostthat comes with JUCE. Out of the box, Pamplejuce’s VST3/AU targets should already be pointing to it’s built location. - If you want to package and code sign, take a look at the packaging/ directory, adding assets and adjusting config to match your product.
- Check out how to release via GitHub.
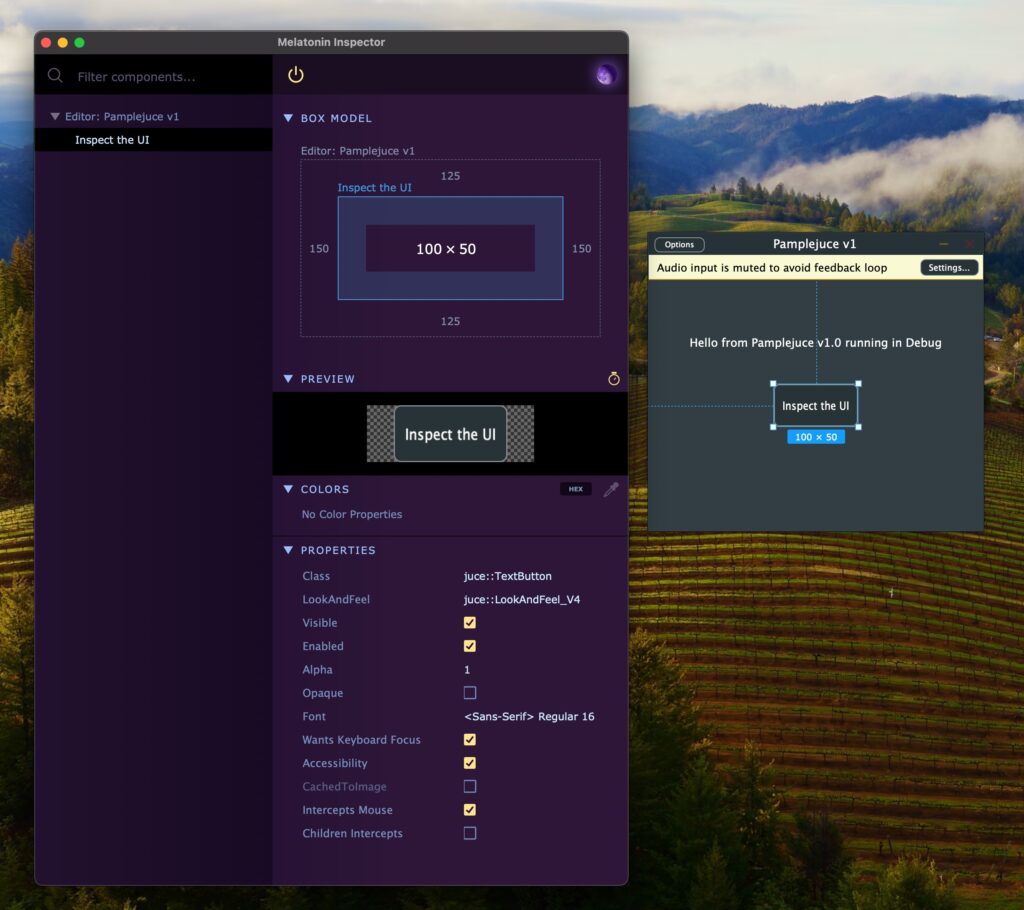
This is what you will see when it’s built: An empty plugin displaying its version number with a button that opens up the Melatonin Inspector:
Leave a Reply