Additive synthesis is new to a lot of people. So you might wonder how to do things with additive that you already know how to do on a more traditional subtractive synthesizer.
Here are a few tips.
Modulating filters
Traditional subtractive dsp filters like lowpass or high-pass filter (limit) what frequencies are allowed through.
People then automate these filters to creative movement in their sounds, having timbre evolve over time.
For example, let’s say you want your sound to start bright and then darken after 200ms. In a subtractive synthesizer, you might hook up the cutoff knob to an envelope or an LFO so that it starts high and dips down, cutting off the high frequencies after 200ms.
In Sine Machine, we don’t need to route LFOs or hook things up. We have direct control over the sound’s frequency components over time. For example, you could just add High to Low decay in the Envelopes section, so that the note starts bright and gets darker after 200ms.
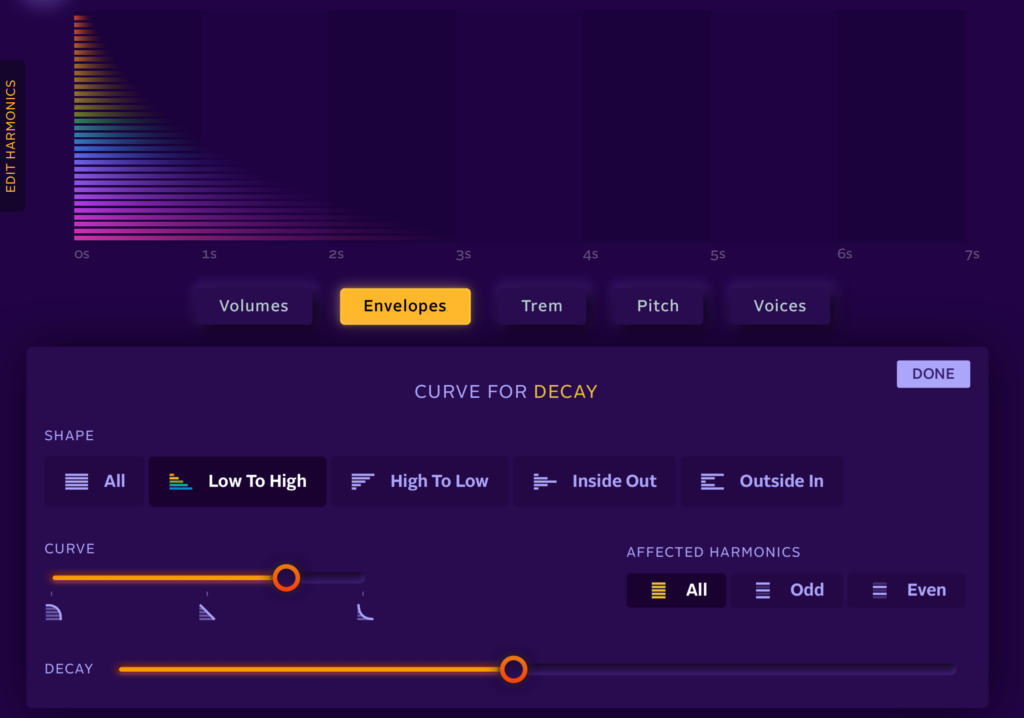
Decay up and select Low to High (make sure Sustain is down too)Unlike traditional filters like a bandpass or lowpass which can only make specific types of cuts, we can create any kind of shape, down to individual frequency components. For example, we can click Even on this page to only affecting even harmonics.
Keyboard tracked filters
On a subtractive synthesizer, you might have a cutoff knob that controls at which frequency the filter starts attenuating.
Many synths then allow you to link the cutoff frequency to the keyboard, so that when you play a higher note, higher frequencies are let through. Play a low note, and the cutoff is lower.
This is a great way of making a sound more musical and “natural” (emulating acoustic instruments) across the range of notes.
In additive synthesis, “keyboard tracking” is the default out of the box. So with Sine Machine, you don’t need to use a filter at all. You just dial in the harmonic volume bars. When you play a higher note, the whole set of volumes moves higher with your key.
Leave a Reply